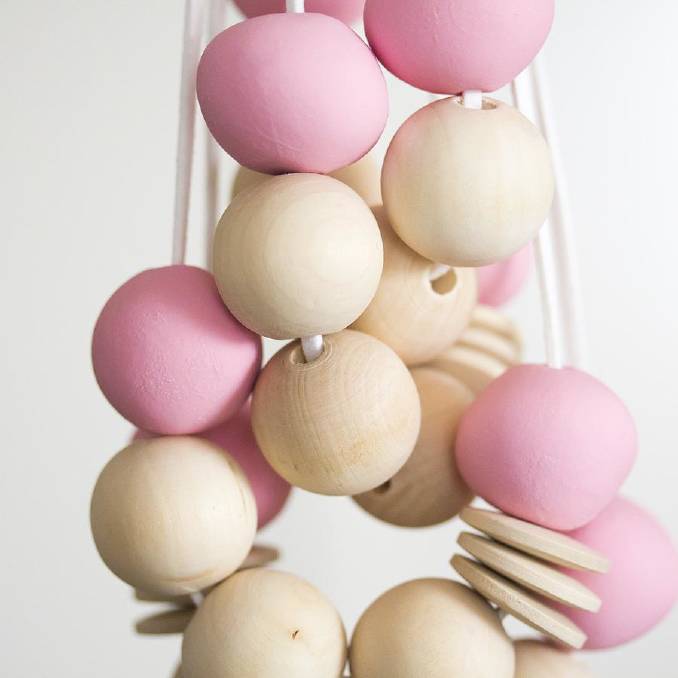
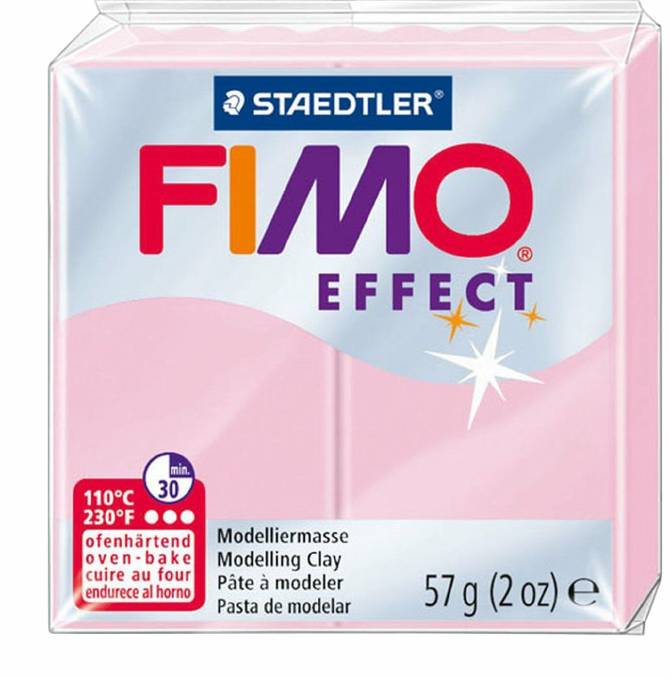
For a fun afternoon of craft work, something you can sit around the kitchen table with minimum supplies and end up with a handmade necklace or bracelet, you can’t beat Fimo Modelling Clay beads.
It’s a simple craft, with minimal outlay, and you can see the end result after a few hours of play. I wanted absolutely perfectly round beads for my necklace project. But like all craft, perfection is nigh on impossible. Seriously. But you can get it pretty darn close.
If you are the sort of crafter that can crack open the packet of clay and start rolling – instructions ignored, no equipment laid out, and no idea of the end result, that’s wonderful and huge congratulations.
I am more the jelly knees type, too scared to use too much clay in case I waste it, and too keen on reading everything, even the Weetbix box, before I make a start.
I managed to split, crack, jam the holes and ruin one huge tray of pretty pink beads … but the next tray was way way better.
I was sure the relatives would be asking me how to make them as soon as they saw my new bead necklace, so made copious notes in the process, when things were naturally quieter.
Fimo beads notes:
1. Only buy the FIMO brand to make your beads. Other sorts are too soft and you end up with awful finger and palm marks. Rolling a nice tight, round bead is a breeze with Fimo and leaves no fingers marks.
2. Buy a bulk pack of white Fimo as well as your smaller blocks of colours. To make your dollars stretch, add white clay to the coloured clay to make the coloured clay go further.
3. Clean up your work station with alcohol wipes and scrub your hands. Make sure you wear non-fluffing clothes too.
4. Condition or get the clay ready to use by cutting the block into small pieces using a clay blade. Roll the clay into a ball, then into a snake, fold it up and repeat until the clay can be folded easily without cracking or breaking. It should be supple, flexible and smooth.
5. Roll out your conditioned clay into the shape of a sausage and cut it into 12 gram pieces – The right weight of clay ensures even sized beads; 12 grams will make a 25mm bead.
6. Now you’re ready to firmly roll the clay in the palm of your hands to iron out the creases and end with a soft, tight circle motion to finish the bead off. Place on tray asap to avoid finger marks.
7. Go to bed. It helps to let them sit over night before you put the hole in the centre as the temperature is much cooler in the morning; the beads are much less likely to squash when you’re making the holes.
8. Making the holes is pretty easy. You simply screw a wooden skewer into the centre of the bead slowly. Once you’ve made it to the other side take the skewer out and pop it in the other side to neaten it up.
9. Place your beads on concertinaed paper on a baking tray. Cook the beads for 30 minutes at 120 degrees. Let cool completely before threading. I used a strong white yarn to thread the beads on, then tied it with a knot to complete.
It’s a simple craft, with minimal outlay, and you can see the end result after a few hours of play.


